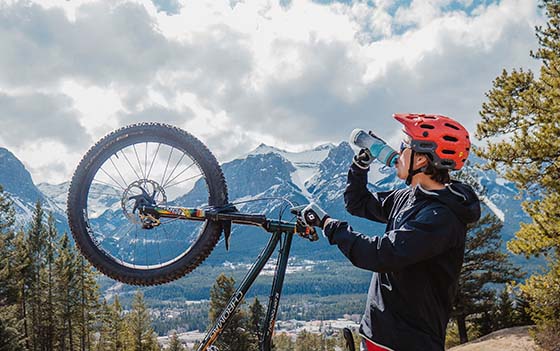
Hydration packs are extremely useful, especially for mountain bikers. You can drink conveniently without taking your hands off the bars, as well as carry a set of tools and accessories.
But once the ride is over, things get tougher. You have to remove the bladder and clean it thoroughly, and don’t forget the bite valve – that thing is tough to clean! (That’s what makes me opt for water bottles when they’re a feasible option.)
The good news is, once you know the drill, keeping your CamelBak’s bladder (or reservoir) clean and fresh isn’t all that difficult.
Table of Contents
Part 1: How to Clean Your Hydration Pack
We’ll assume you have a grungy bladder at the moment, so let’s start by cleaning it!
Here are five different ways to clean it:
1. Hot water + baking soda
Fill the bladder with hot water and baking soda. Shake it up and let it sit overnight.
2. Camelbak cleaning kit
You could go all out and get Camelbak’s brush kit and cleaning tablets. It’s nice because everything comes in one package, but it isn’t the cheapest option.
3. Cold water + bleach
Try filling the bladder with cold water and 1 tsp bleach. Let that sit overnight. Just make sure you rinse thoroughly! (If I use bleach, I also clean it with the hot water + baking soda afterward to get rid of the chlorine taste.)
I don’t really like to use harsh substances like bleach, but sometimes you might have to.
4. Denture cleaning tablets
A cheaper alternative to Camelbak tablets is a box of denture cleaning tablets. (Just make sure they are flavorless, unless you want to drink mint-flavored water.)
5. Pipe cleaners and Q-tips
If your main problem is cleaning the tube, try some pipe cleaners! Q-tips also work inside the bite valve.
Part 2: Tips to Keep Your Hydration Pack Clean and Fresh
Now that the reservoir is clean, keep it that way! Here are five more tips that will keep things clean:
1. Only carry water
Without sugary sports drinks, it’s much less likely that mold will grow in the reservoir. I prefer to carry plain water or Nuun in my pack while carrying drinks like Accelerade and Perpetuem in bottles.
2. The freezer
Keep the reservoir in the freezer when not in use. The freezer provides an environment cold enough that mold can’t grow.
3. Concentrate on the bite valve
When cleaning, make sure you get the bleach or soapy water down through the hose and bite valve.
4. Air dry
Hang the reservoir to air dry after each cleaning to be sure it is totally dry.
5. Buy new
If you do carry sports drinks and get mold, it might be too late. The reservoir isn’t the worst problem – the tube and valves are. Ditch the bite valve, because the mold in there is nearly impossible to remove, no matter what detergents and brushes, toothpicks, Q-tips, etc. you try.
Just clean everything, get a new bite valve for $5, and regularly wash it all and store it in the freezer.
Levi Bloom is an experienced endurance athlete who has been training and competing for over 17 years. A former Cat 1 road and mountain bike racer (professional class on the regional circuit), he is now a cycling coach (USA Cycling Level 3 Certified) and sports nutrition coach (Precision Nutrition Level 1 Certified).


Will storing it in the freezer damage it over time? It seems like kind if a harsh environment
@Drea
Harsh, yes, I guess it is. I’ll have to see what the official word from Camelbak is, but I think the bladder can handle it just fine. I mean, it handles rides and ski trips in sub-zero temps (as well as 100 F temps.)
I’ve never had a problem. Maybe many years of freezing and thawing will take a toll, but this is something I’ve always replaced (for precautionary sanitary reasons) before it got to that point.